I stumbled across this large scale X-wing toy that I decided to convert into something more polished. The toy was mold injected with Polypropelene which is not the easiest plastic to work with due to fact that hardly anything sticks to it. The trick is to use acetone to then get a good initial prime coat of "PlastiKote" which helps with subsequent layers of primers and adhesives.


The model had a lot gaps since it was mold injected to be a rather cheap toy for this scale so there was opportunity to scratch build these areas with resin and custom polystyrene parts.


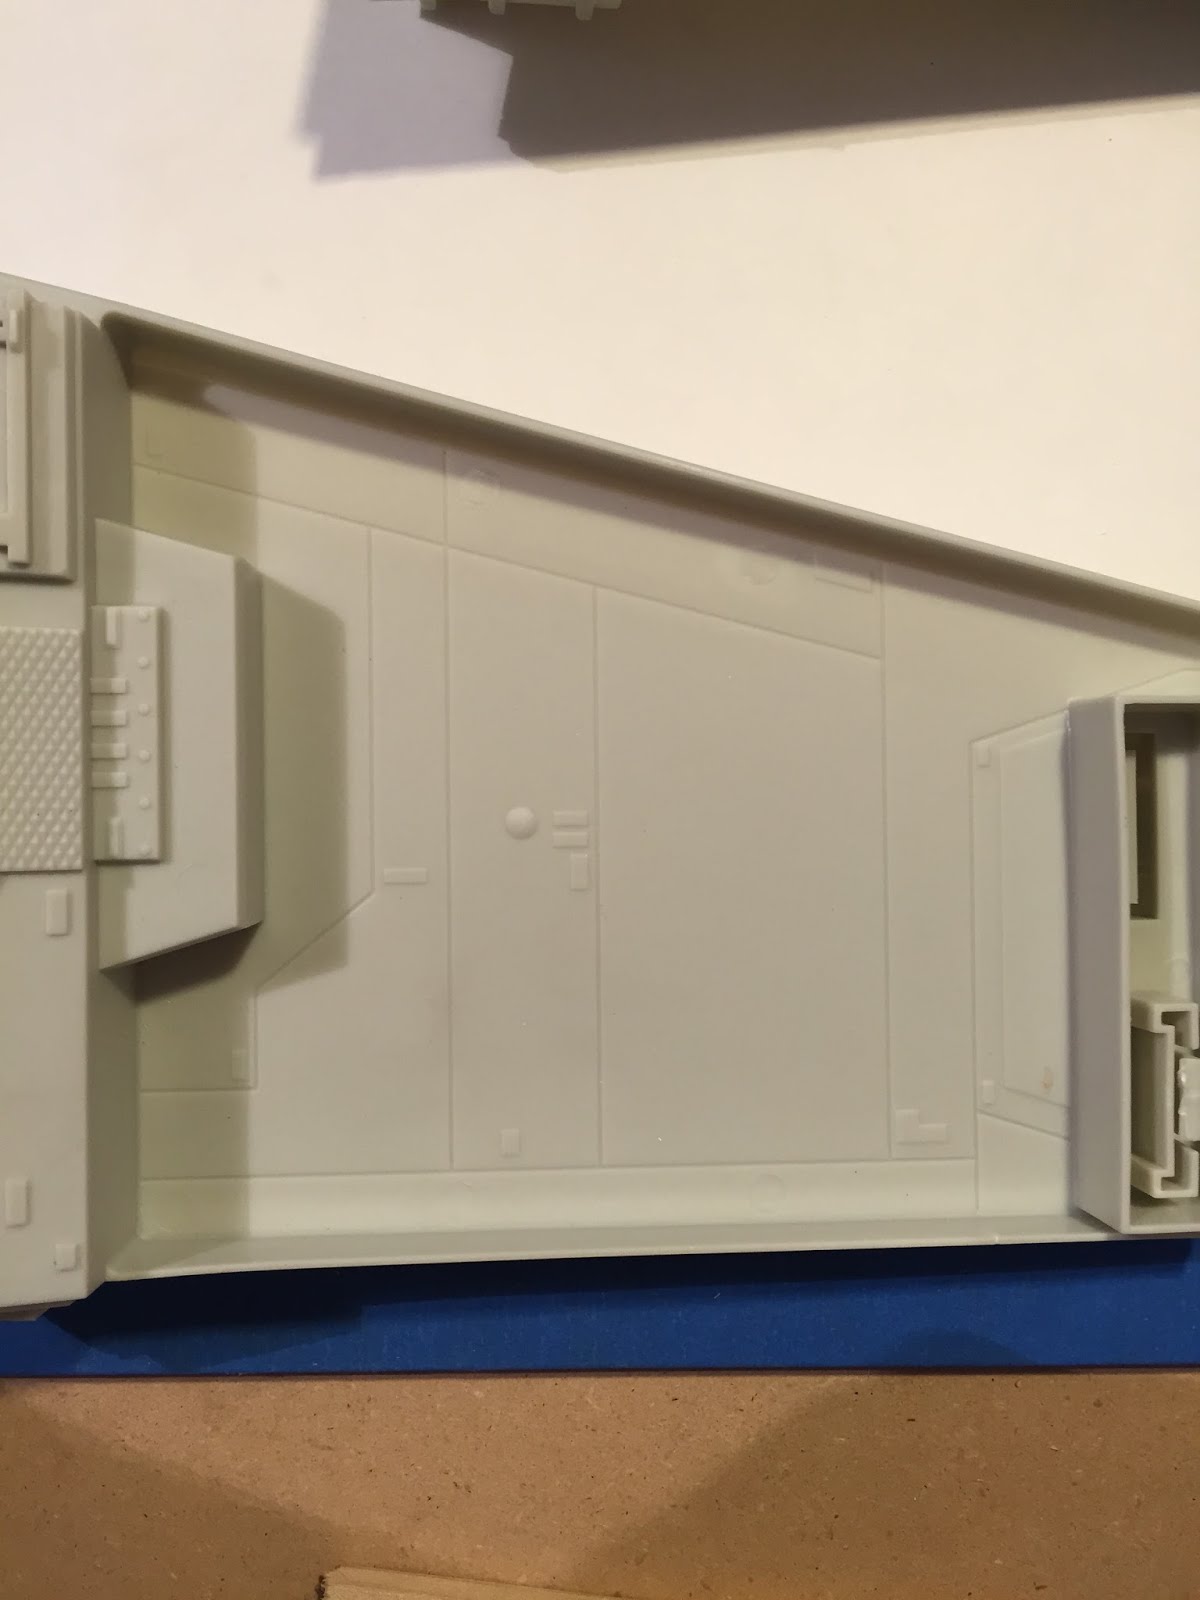
Here you can see the wings are hollow, so I added in some balsa wood to save help save on resin that I used to fill it in. After the resin was dry, it was sanded flat and I then added in some panels cut from polystyrene sheets.


I re-created the cannons by using polystyrene tubes of the same diameter and then scratch built the front canon tips and rear exhaust. For the cannon tips I cut PVC into halves along with a thin tube to help create the master which I then cast from a silicon mold I created to duplicate 4. I had to also create a makeshift jig to help keep everything straight when gluing it all together.


I cut out the windows and lower hatch with a dremel saw blade. The lower hatch will be used for the battery compartment and screws to hold it on. For this I had to reinforce the area with polystyrene and drill the correct size holes for the screws. I also covered the front landing gear well. Again I used PVC to patch up the engine gaps to then add matching greebles on top. I added a grey primer coat to further ensure good adhesion for the glue.


The next step was to add lighting. Before soldering everything together I tested out the parallel circuit on a breadboard to make sure the resistors were correct. Each color LED uses different resistors. This site helps figure out what resistors to use http://led.linear1.org/led.wiz. The switch was placed on the bottom by cutting out a section in a discrete area of the model. I also used black primer to "black out" the interior to ensure no light would bleed through from the LED's. I then added 4 red LED's for the engines, a blue one for the droid, and 2 in the front for headlights.


Windows were cut out of clear polystyrene and painted black on one side to simulate tinted windows as I had no intention of building out the interior of the cockpit.


I then took some extra time to design a pattern in Substance Painter which is a 3d painting program since I had a basic digital Xwing model handy. Within a few minutes of doing an automatic unwrap I started laying down patterns and color ideas. I ended up liking this one;

I then glued everything together and covered the seams and screw holes with Tamiya model putty. After a lot of sanding I added a final coat of grey primer and airbrushed the base colors using Tamiya's acrylic paints.


Weathering pass:
I wanted to give the effect that this ship had flown in and out of atmospheres many times without having been cleaned up; so I looked at a lot of reference where space shuttles just re-entered the atmosphere and based the weathering off that as a start.
Once the base color was finalized I added a soot effect with a dry brush and crushed pastel chalk followed by a gloss acrylic clear-coat to seal it. Then a pin wash was done on the panel lines and greebles to make them pop out more. This was done by using turpentine and oil paints mixed to the consistency of coffee. The gloss clear coat allows it to flow easily and the turpentine doesn't affect the acrylic clear coat underneath. I then did a final matte coat to seal in the pin wash and take down the gloss.
Once the base color was finalized I added a soot effect with a dry brush and crushed pastel chalk followed by a gloss acrylic clear-coat to seal it. Then a pin wash was done on the panel lines and greebles to make them pop out more. This was done by using turpentine and oil paints mixed to the consistency of coffee. The gloss clear coat allows it to flow easily and the turpentine doesn't affect the acrylic clear coat underneath. I then did a final matte coat to seal in the pin wash and take down the gloss.


